
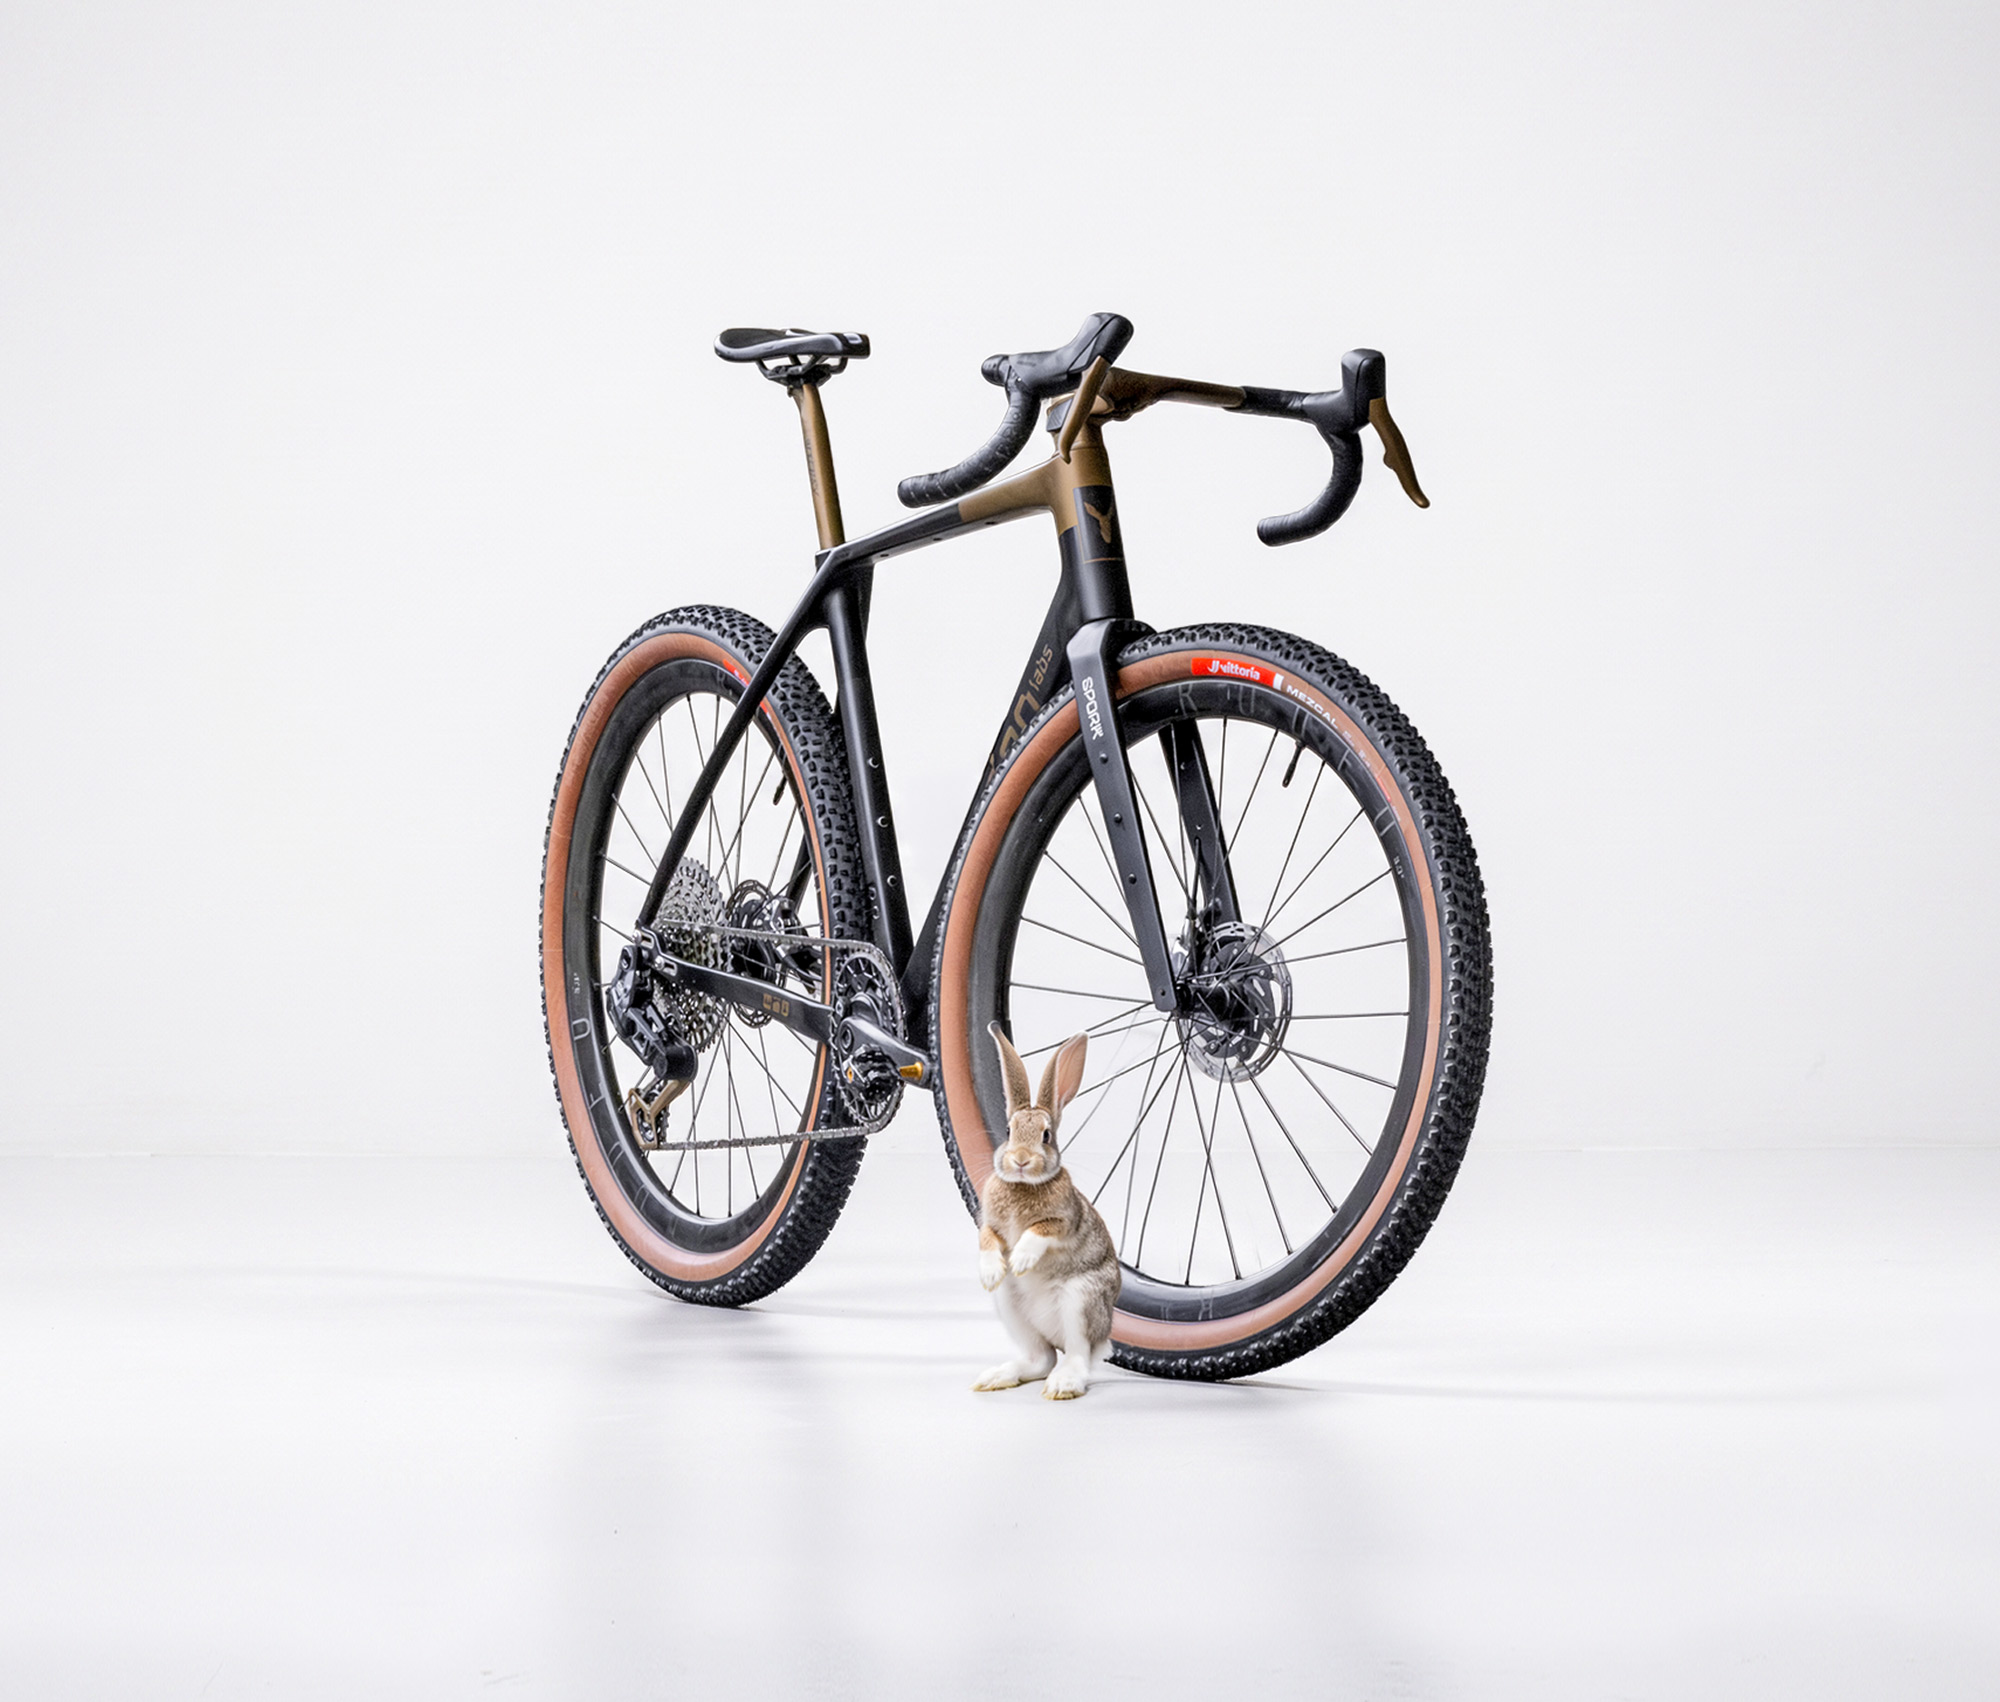
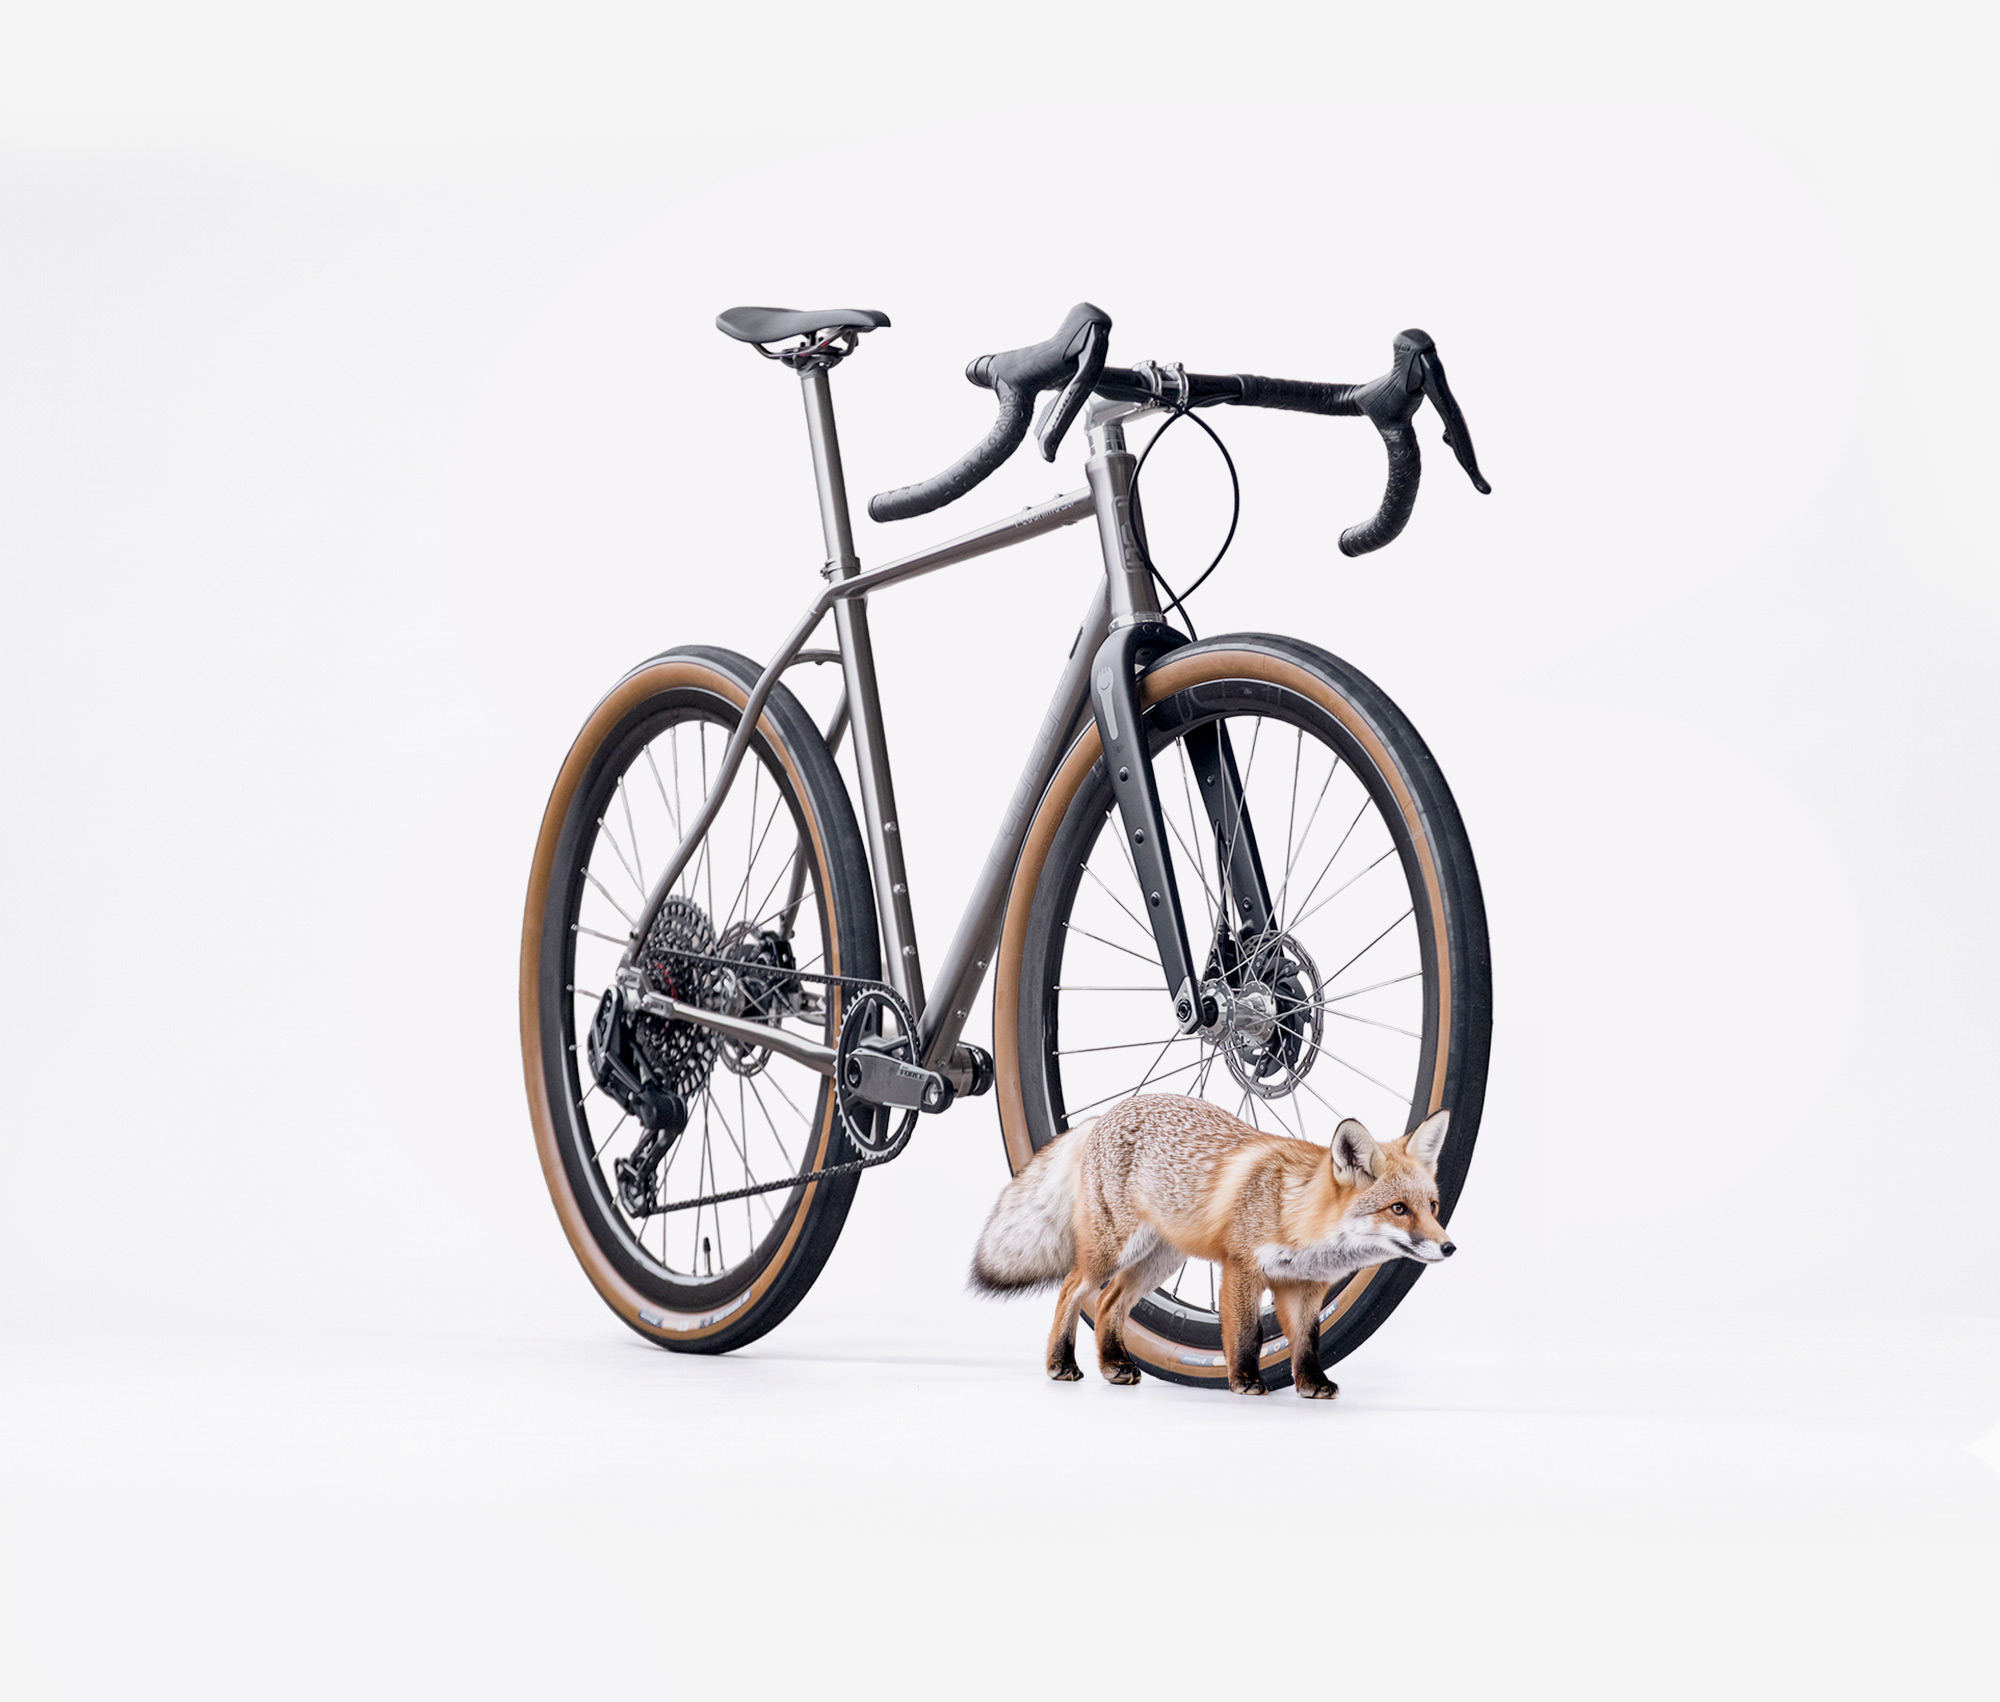
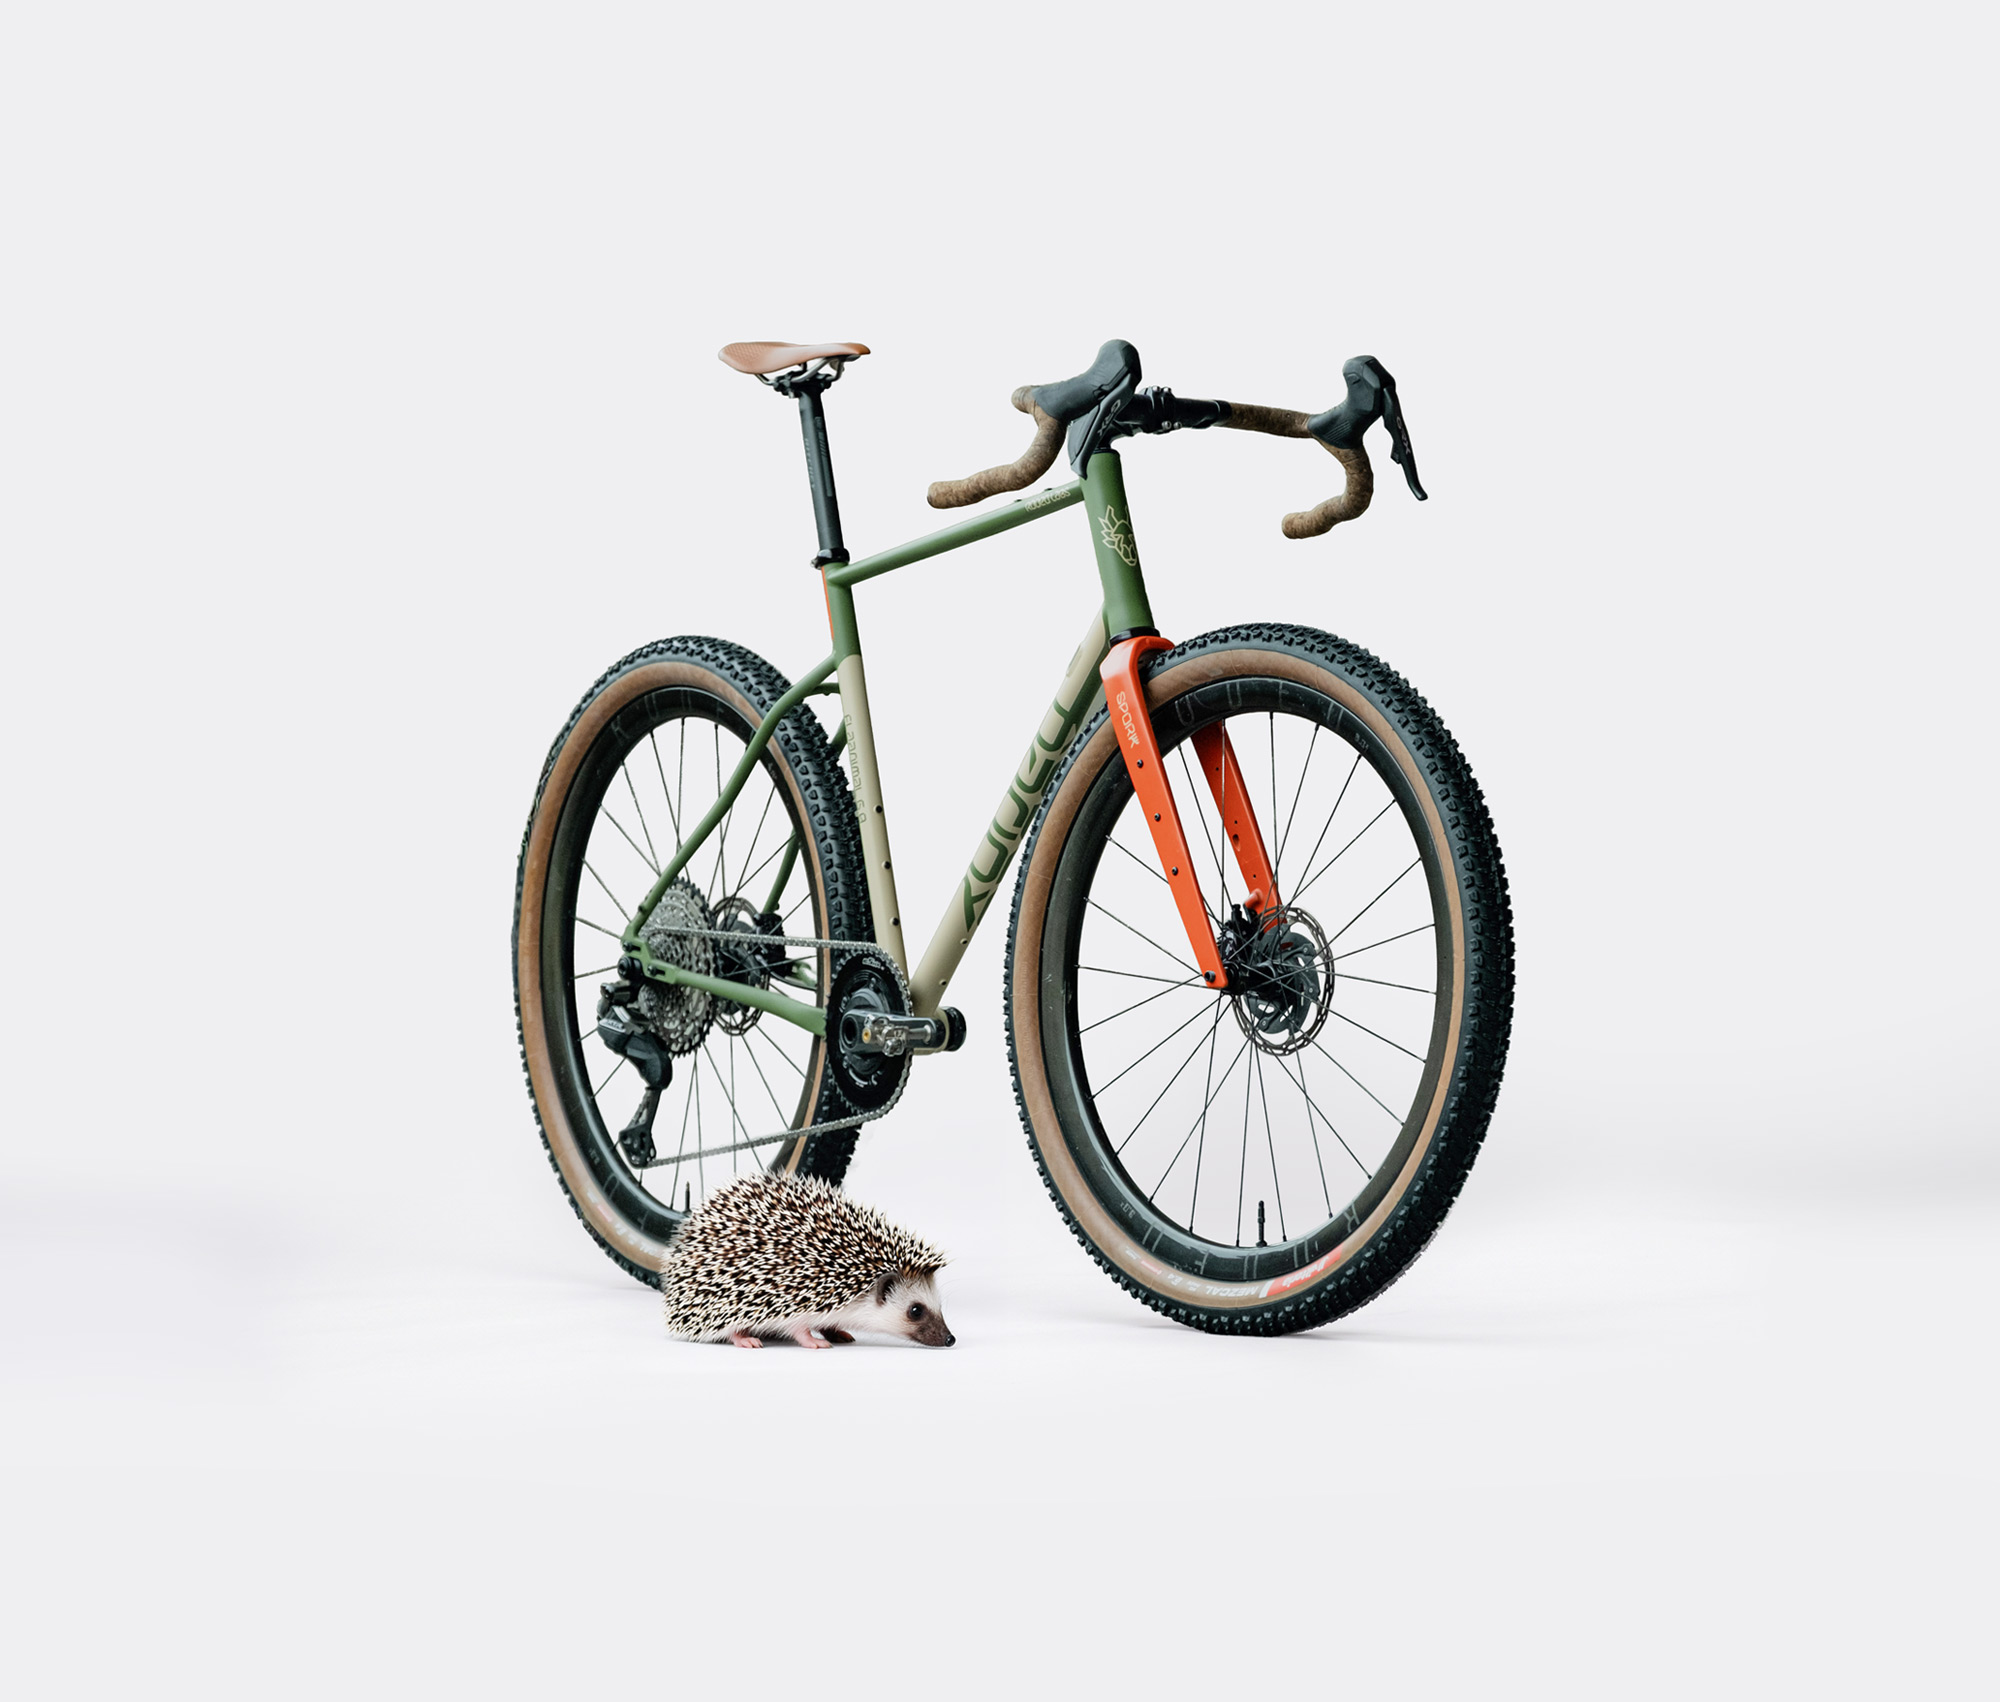
Spork 4.0 manual
Rodeo Spork 4.0: Owner’s Manual & Installation Guide
Welcome to the Rodeo Labs family. The Spork 4.0 is designed with durability, adaptability, and utility at its core. Whether you are racing gravel, embarking on an ultra-distance bikepacking expedition, or exploring local trails, this fork is built to handle the rigors of the wild.
Critical Safety Warning
WARNING: Cycling is an inherently dangerous activity, and the front fork is a critical, load-bearing component of your bicycle. Failure to strictly adhere to the installation, maintenance, and usage instructions outlined in this manual may compromise the structural integrity of the fork, leading to catastrophic failure without warning. A component failure while riding can result in a sudden loss of control, causing severe personal injury or death. To ensure your safety and to maintain the validity of your warranty, we strongly mandate that all installation, routine inspections, and maintenance be performed by a qualified professional bicycle mechanic. Under no circumstances should you modify the fork, exceed its specified load limits, or subject it to riding conditions outside of its intended design.
Read this manual in its entirety before installing or using your fork. If you have questions about installation, please free to call, email, or text us via the contact page.
1. Specifications & Limitations
Adhering to these structural limits is critical for your safety and the longevity of the fork.
- Max Rider AND Gear Combined Weight: 280 lbs (122.5 kg)
- Max Cargo Weight: 27.5 lbs (12.5 kg) total additional cargo, distributed evenly and mounted per these guidelines.
- Tire Clearance: Up to 700c x 31mm or 650b x 2.4″. This is guideline and is always tire / rim dependent. Note: Always maintain a minimum of 4–6mm of clearance between the tire and the fork to account for mud, debris, and wheel flex.
- Steer Tube: Tapered (1-1/8″ to 1.5″)
- Crown Race: Integrated carbon. 45 degree bearing contact angle.
- Axle Dimensions: 100mm spacing, 12mm, 120mm total length, 1.5mm thread pitch.
2. Installation Best Practices
Cutting the Carbon Steer Tube
Carbon fiber requires specialized tools and techniques to prevent delamination and structural failure.
Always wear safety glasses when using tools and cutting devices.
- Use the Right Tools: Never use a standard pipe cutter. Use a carbon-specific 12″ hacksaw blade (Park Tool CSB-1 or functionally identical) and a dedicated Park Tool saw guide to ensure a perfectly straight cut.
- Prep the Cut: Wrap the cut line tightly with masking tape. This prevents the carbon fibers from splintering or fraying as the saw breaks through.
- Smooth the Edges: After cutting, use fine-grit sandpaper or a file to smooth the inner and outer edges of the steer tube cut. Inhale precautions (like a filtration mask mask) should be taken, as carbon dust is harmful. Wash hands and clothing after cutting carbon.
Headset, Spacers, & Stem Installation
Proper spacer configuration prevents undue leverage on the steer tube and ensures secure stem clamping.
- Maximum Lower Stack: The maximum allowed headset spacer stack height between the top of the headset and the bottom of the stem is 40mm. Exceeding this creates dangerous leverage that can snap the steer tube.
- The “Spacer Above the Stem” Rule: Always leave the steer tube long enough to place a 5mm spacer above the stem. The steer tube should sit 2–3mm below the top lip of this upper spacer. This ensures the stem’s upper pinch bolt clamps fully onto the steer tube rather than crushing the top edge.
- Crown Race: We highly recommend using a “split” crown race for easy, tool-free installation. Solid crown races with tight tolerances can be difficult to install and may damage the carbon crown if seated improperly.
- We have noted extremely tight crown race tolerances from Chris King and Wolf Tooth. Those races required excessive force to install.
- Our warranty will be void on all forks that utilize non-split crown races.
Compression Plug Installation
- NEVER USE A STAR NUT: Installing a standard metal star-fangled nut will score and ruin the inside of the carbon steer tube, leading to catastrophic failure.
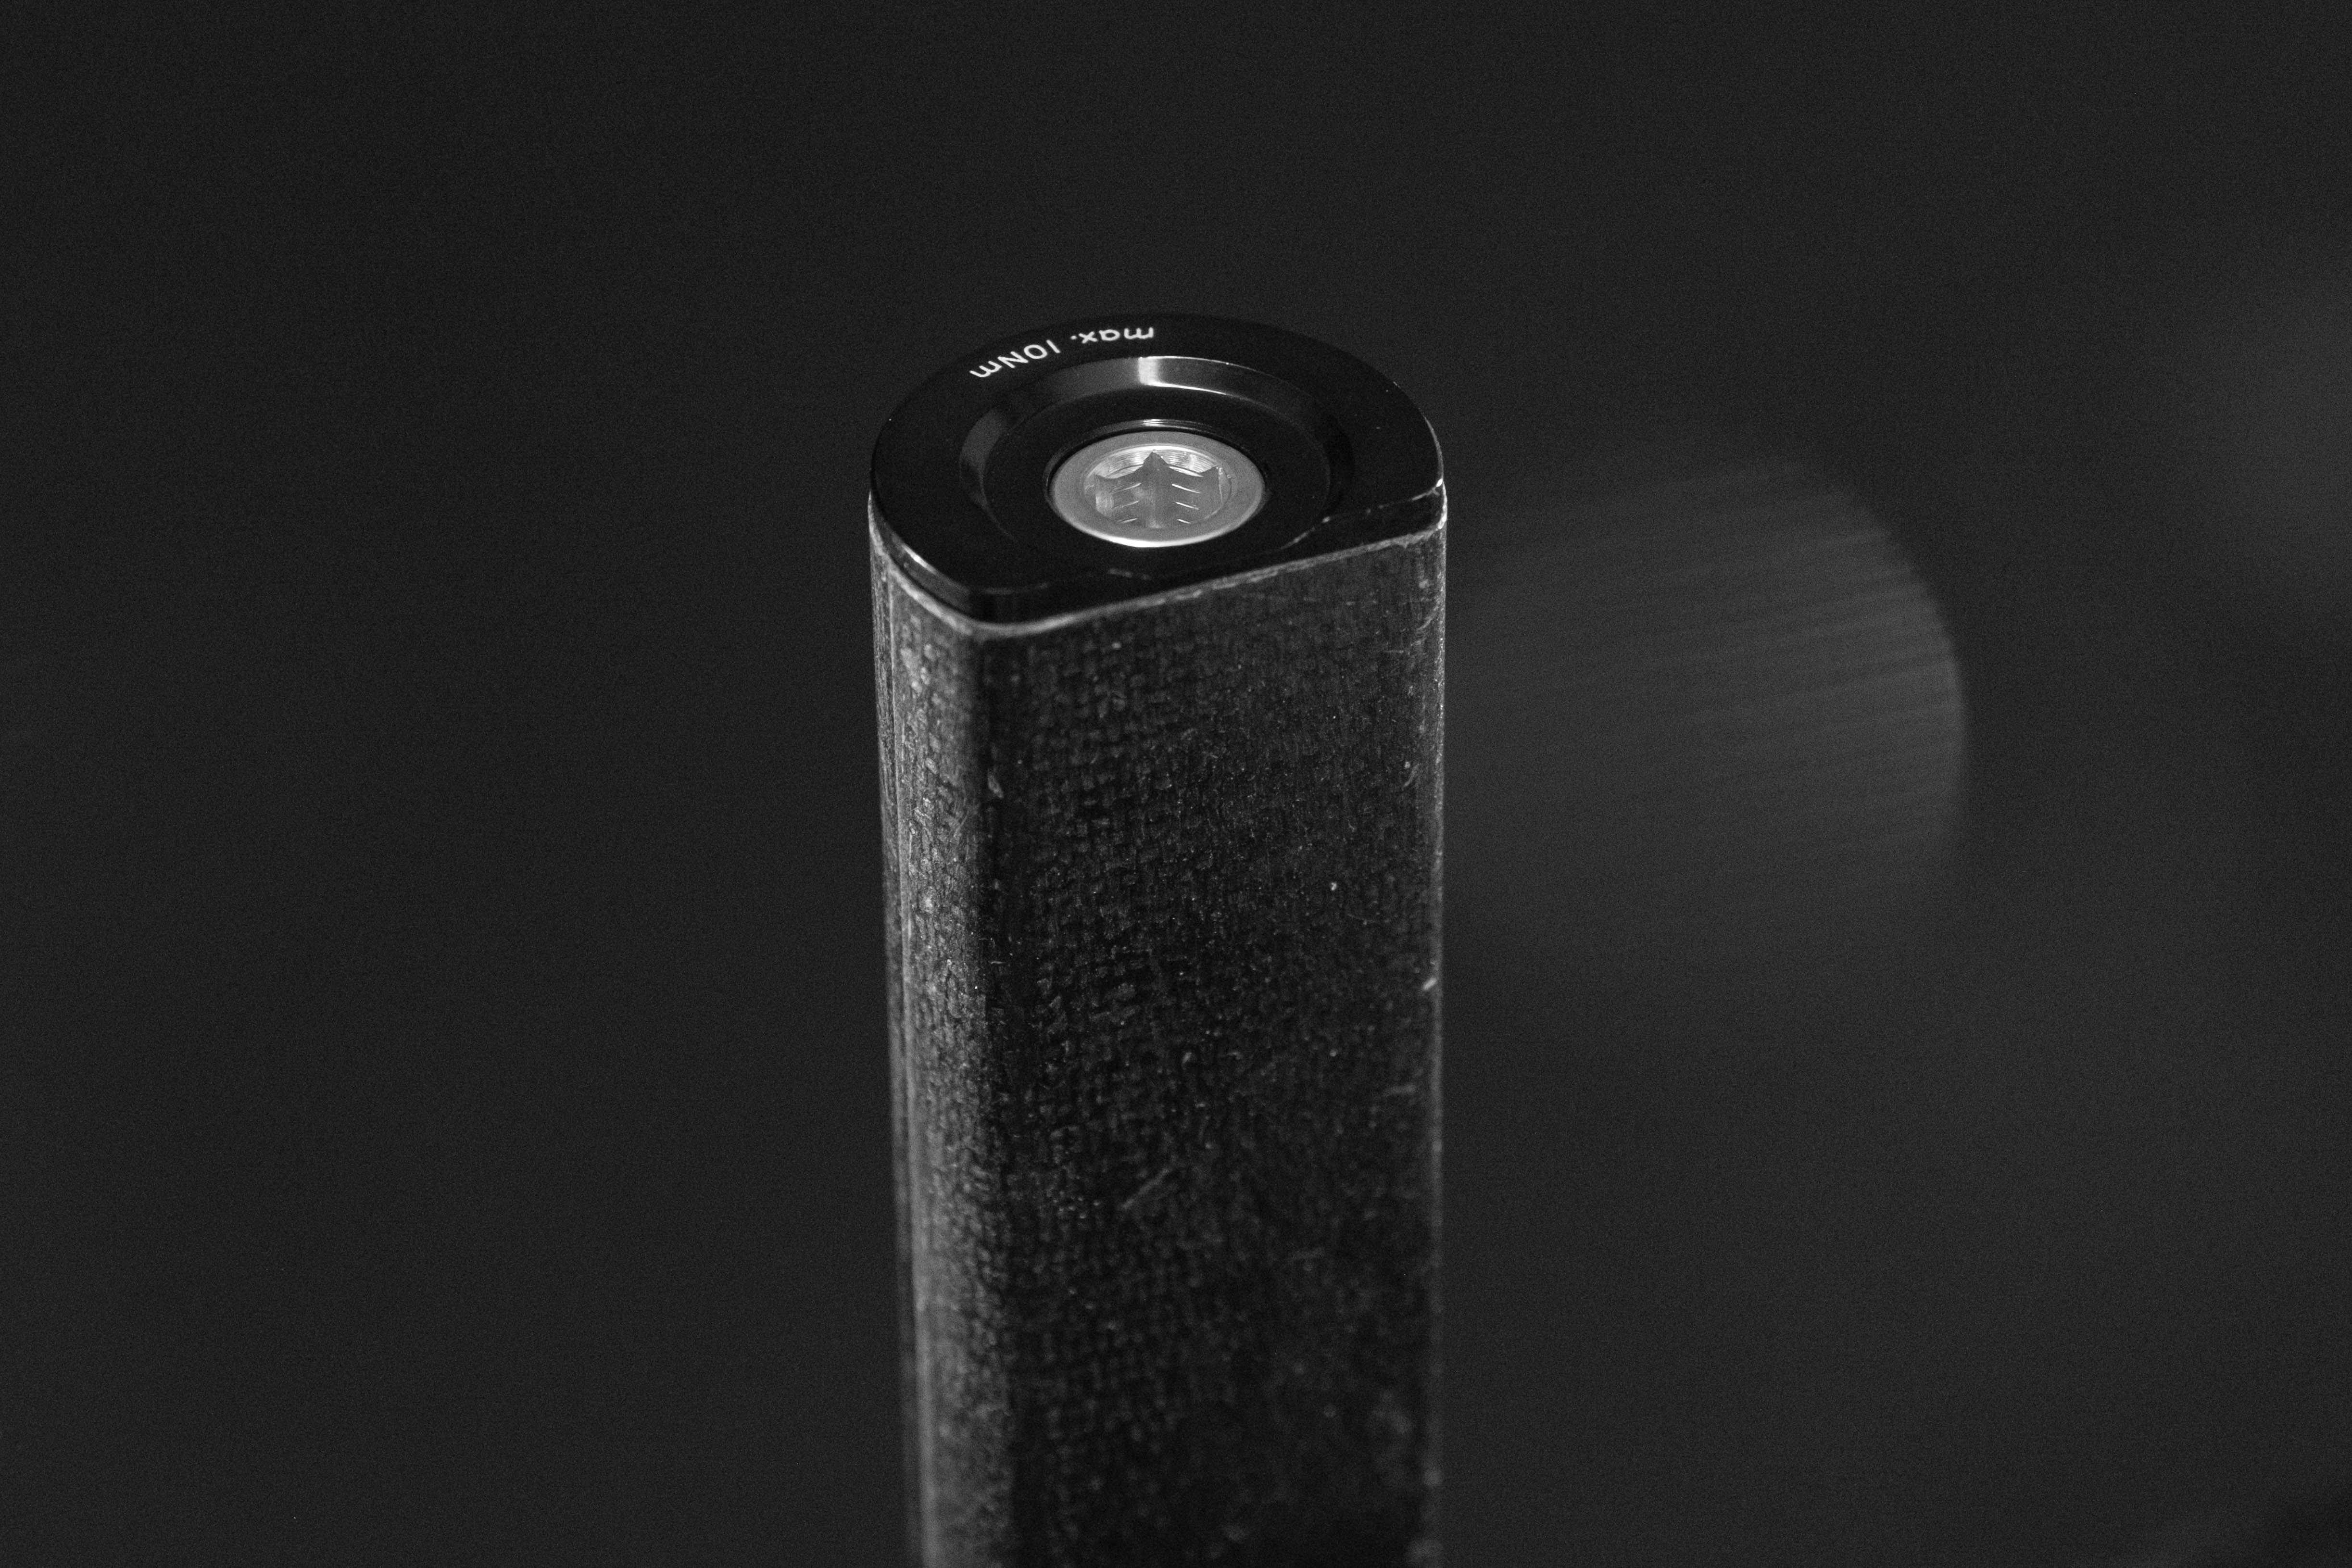
- Rodeo Compression Plug: The only compression plug compatible with our fork is the supplied Rodeo Labs D-Shaped compression plug. Use of this plug is mandatory on all Spork 4 installations.
- Proper Placement: Ensure the expanding body of the compression plug is positioned perfectly inline with the clamping area of your stem. The plug pushes outward against the carbon, counteracting the inward crushing force of the stem bolts.
- Torque Specs: Tighten the compression plug and stem bolts strictly to the stem manufacturer’s specified torque (usually around 4–5 Nm) using a calibrated torque wrench.
3. Cargo, Racks, and Fenders
The Spork 4.0 is compatible with low-rider and randonneur-style racks, as well as full-coverage fenders.
- Protect the Carbon: Always use nylon washers between metal bolts, mounts, or metal washers and the carbon fork to prevent scarring the finish and damaging the structural carbon.
- Strict Torque Limits: A maximum of 5 Nm of torque is allowed on all mid-leg and fork crown mounting points. Do not over-tighten.
- Heavy Loads: When mounting loads heavier than a standard water bottle to the mid-leg eyelets, use 10-15 mm M5 bolts to attach cargo through the entire mid-leg eyelet. This dramatically increases durability.
- Prevent Corrosion: Grease all threads before installation, and use locking washers to prevent bolts from vibrating loose on rough terrain.
4. Component Setup
- Brakes: The fork natively accepts Flat Mount 160mm or 180mm rotors. Hose routing is internal. The flat mount standard specifies a mounting plate for the front caliper. This mounting place can be flipped in orientation (up or down) to switch between 160mm and 180mm rotor configuration. Note: Your mounting plate was made for 140mm native forks, so when you have the plate in 140mm configuration, it will configure Spork 4 for a 160mm rotor. If you have the mounting plate in 160mm configuration, it will configure Spork 4 for a 180mm rotor.
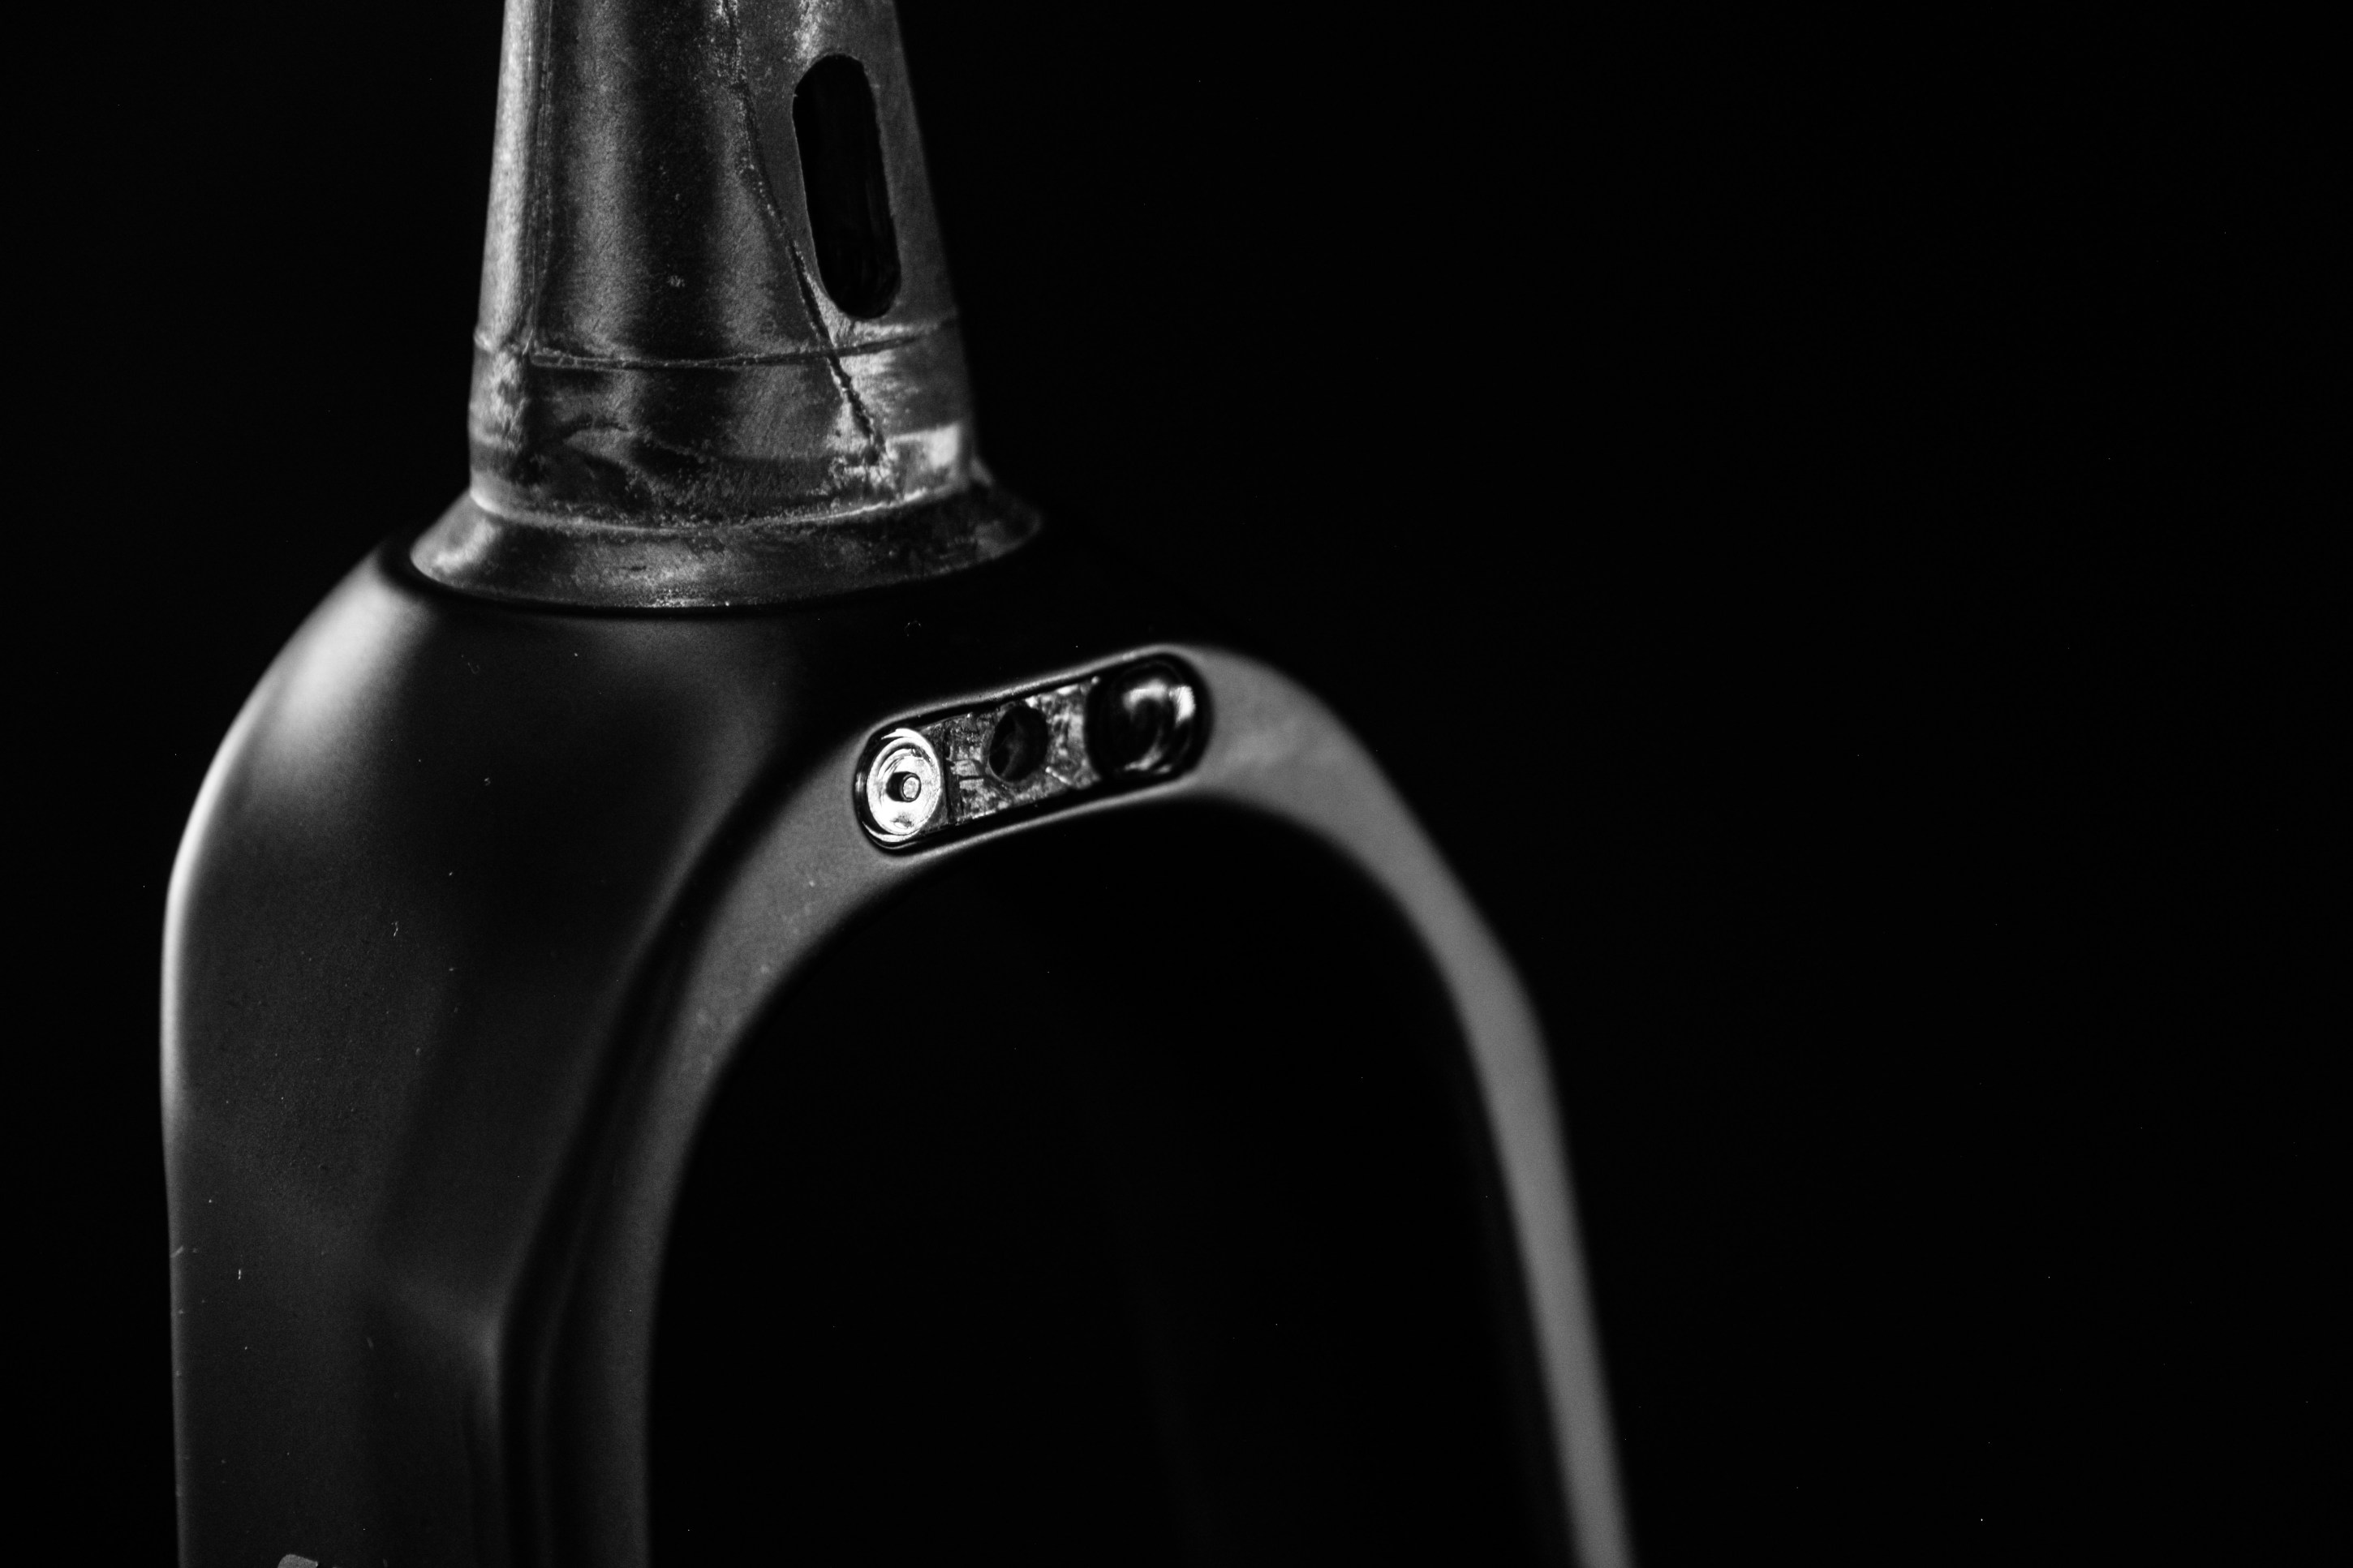
- Dynamo Routing: Spork 4.0 features internal dynamo routing on the drive-side fork leg, with wiring ports at the lower leg and upper crown area. The fork can be pre-configured for Son SL Self Connection dropouts when ordering. The fork can also be pre-configured with magnetic hub and headlight connectors when ordering.
5. Internal Brake Routing / Dynamo wiring.
- Spork 4.0 supports both standard internal leg routing and fully integrated steer tube routing.
- Routing the brake hose or dynamo wiring through the fork can be challenging to the uninitiated. A professional from a bike ship is your easiest option. If you chose to go it alone, a Park Tool internal routing kit would help greatly. If you don’t want to buy that kit, thread a standard shift cable from the upper entry point, through the fork, to the lower exit point. Use a hooked tool or bent paper clip to grab the end of the shift cable and fish it out through the exit hole. Then feed the brake hose housing over the shift line and push it back through the fork. If routing a dynamo wire, try placing a vaccum at the lower leg exit hole of the fork, then insert a peice of string at the upper entry hole. Feed the string through and the vaccum will pull the string out of the lower exit hole. Tie the string to the wire and pull the wire back through. It may be necessary to route your brake line from the bottom up or top down if you run into difficultly running the line. Sometimes one direction is far easier than the other.
- Spork 4 allows for dynamo wiring to enter the fork near the hub on either side of the lower fork leg near the dropout. From there the wire can proceed into the fork leg and up and out of the crown through any of the three crown holes. Wiring can also not exit through the crown area and stay internal into the steer tube, exiting at the top of the steer tube, or exiting into the head tube area and into the frame through a hole in the steer tube.
6. Son SL Self Connecting Dropouts
Son SL Self Connecting Dropouts are an option that buyers can select and have installed at the time of purchase of your fork or bike. If your fork was shipped with the Son SL Self Connecting dropouts, it allows for use of the Son SL Self Connecting dynamo hub, which makes it’s positive and negative electrical connection through the dropouts instead of the more traditional dynamo hub plug interface. If you do not have a Self Connecting hub, you need to wire your fork for standard dynamo plug interface and wiring on your Spork 4. Forks that were not ordered with the Self Connecting dropouts would need to be sent back to Rodeo Labs to have the Self Connecting dropouts installed.
As of now, the Son SL hubs can be purchased in the EU through many distributors. In the USA they are sold through Peter White Designs or Rene Herse.
For more information on the Self Connecting system, check out Son’s web page.

7. Spork 4 magnetic dynamo / headlight connectors.
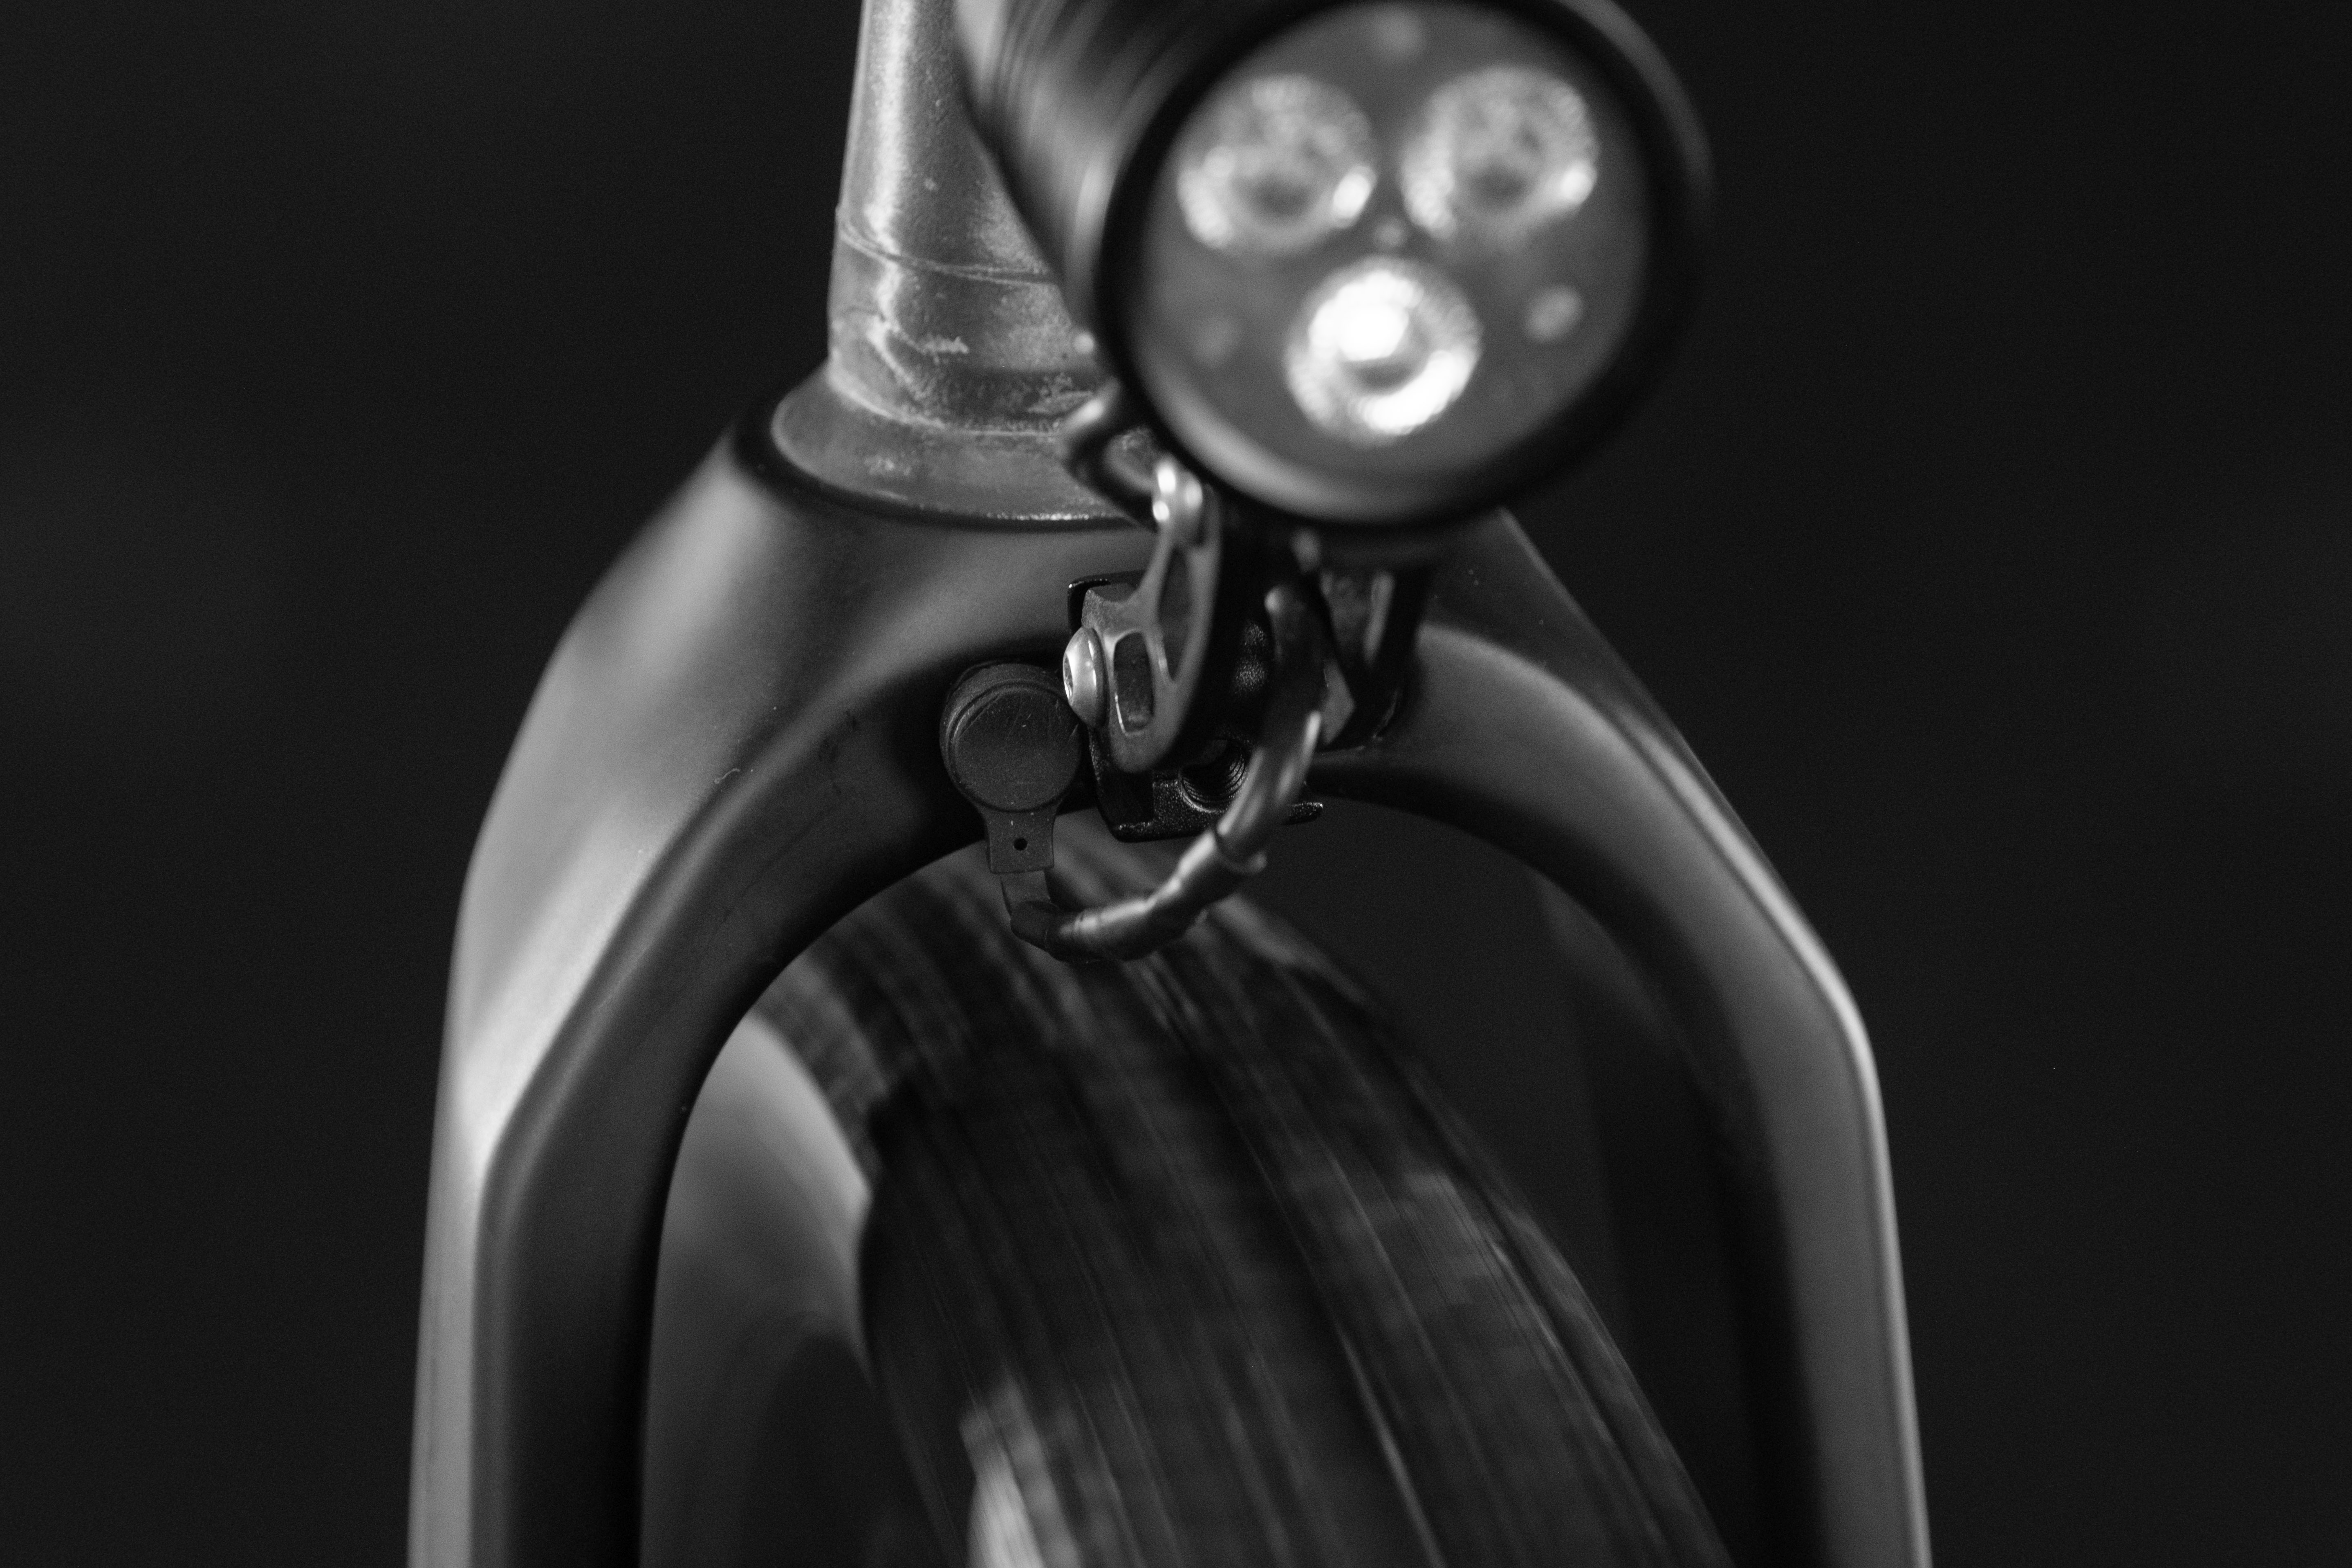
Rodeo has developed its own simplified magnetic connector system for headlights and dynamo hubs that are connected to Spork 4. There are two locations where owners can request that we pre-install magnetic connectors at the time of ordering their Spork 4.
The first position is at the fork crown, next to where the headlight will mount.
The second position is at the bottom of the fork leg near the axle area where the dynamo hub plug will attach.
Depending on the installation, we can pre-wire all of the light and / or hub magnetic connectors, or we can pre-wire the connectors on the fork, and send the second half of each plug interface for each owner to wire into their headlight wiring or hub plug wiring.
8. Critical Safety Warnings & General Safe Use
To ensure your safety while riding, adhere to the following industry-standard safety checks:
- Pre-Ride Inspection: Before every ride, ensure your thru-axle is properly torqued and secured. Check that your front brake caliper is tight and functioning correctly.
- Crash Protocol: Carbon fiber can conceal internal structural damage. If you are involved in a crash, experience a heavy impact, or drive your bike into a low clearance area (like a garage) while roof-mounted, the fork must be thoroughly inspected by a professional. Look for deep scratches, gouges, or changes in how the carbon sounds when tapped with a coin (a dull thud can indicate delamination).
- Torque Wrenches are Mandatory: Over-tightening stem, brake, or accessory bolts is the leading cause of carbon component failure. Always use a torque wrench.
- Chemical Exposure: Keep harsh solvents, degreasers, and brake fluid away from the carbon finish, as they can degrade the resin over time. Clean only with mild soap and water.
- Wear and Tear: Damage due to abuse, crashes, neglect, corrosion, or over-torquing is not covered under the lifetime warranty. Take care of your gear so it can take care of you.
9. Headset compatibility.
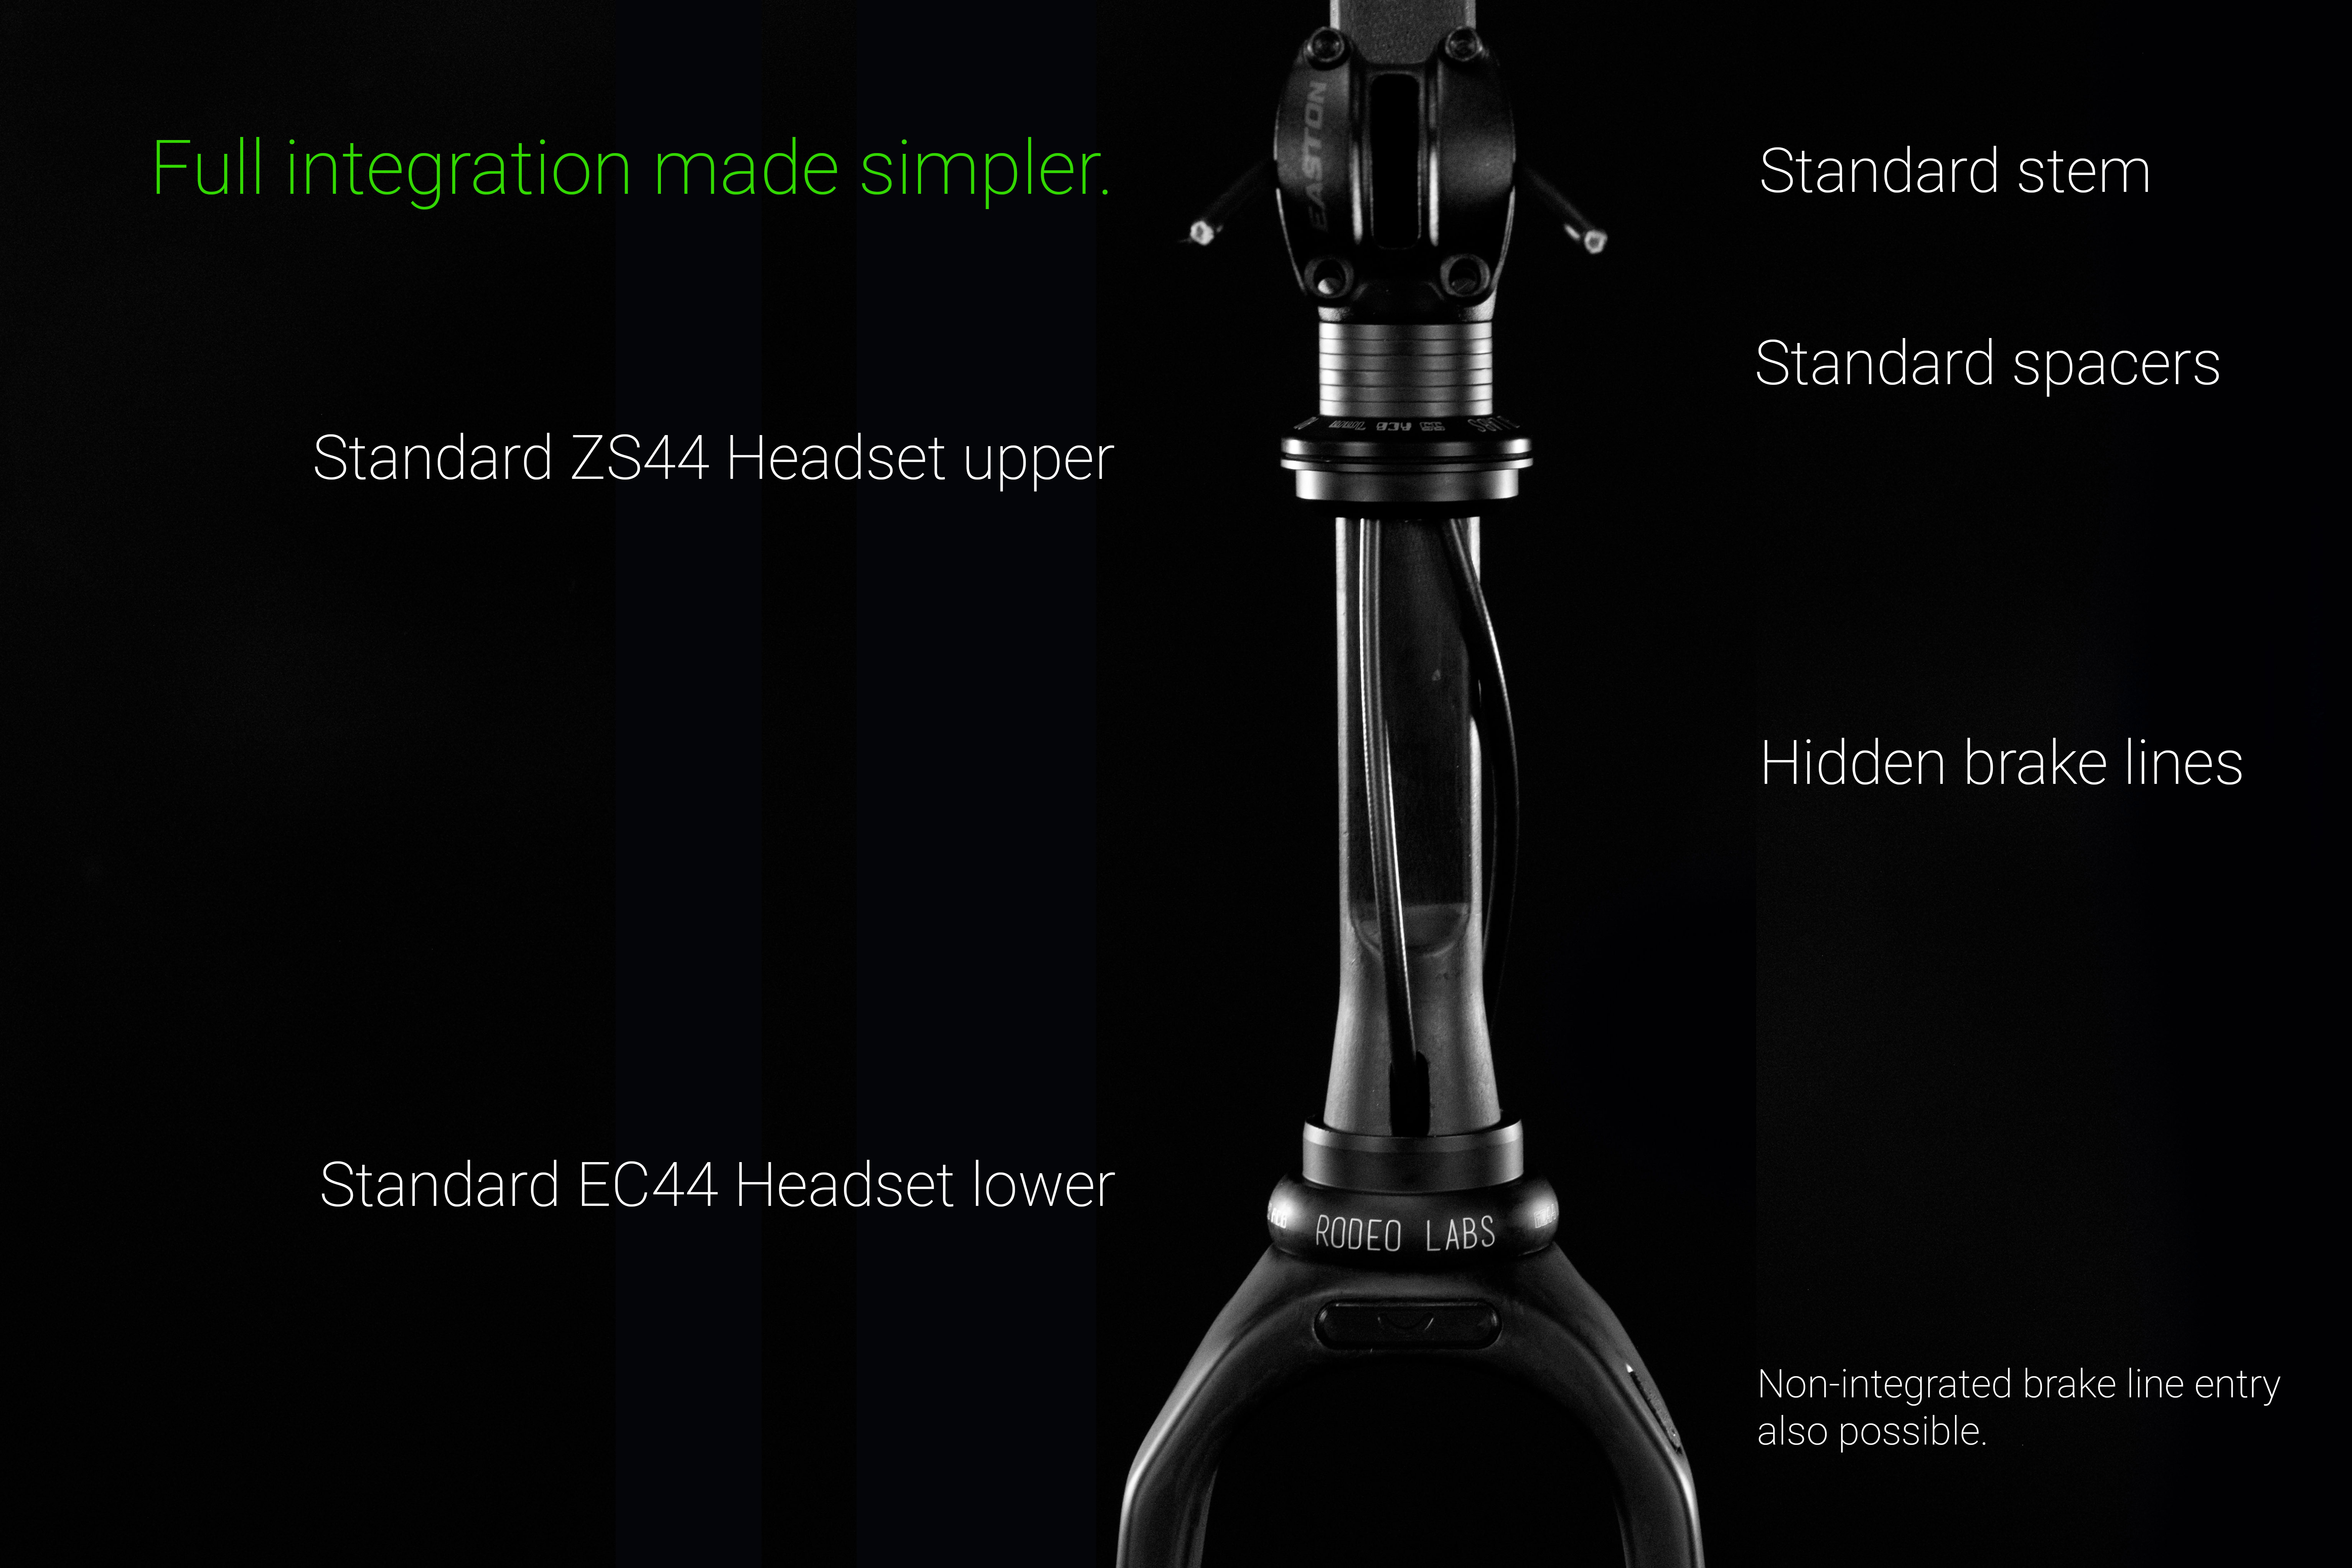
Spork 4.0 features a D-shaped steer tube, which is relatively novel on the market. The D-shaped steer tube allows installing integrated (hidden) brake lines through the steer tube and headset when using standard headsets and stems.
Spork 4.0 is compatible with traditional headsets designed for round steer tubes.
Spork 4.0 is compataible with 3rd party headsets designed for integrated routing such as Enve In Route, FSA integrated, Deda integrated, Ritchey Integrated, etc.
DO NOT USE metal lower crown races on Spork 4.0. The crown race is molded into the fork itself and is carbon. Any use of a metal crown race on Spork 4.0 will damage the fork and cause serious danger to the rider, as well as voiding the fork’s warranty.
A 45 degree contact angle lower bearing must be used on Spork 4, no matter what bearing was supplied with your third party headset. Check your 3rd party lower bearing carefully, as it may be 35 degree, which would be incompataible with Spork 4 and could damage the carbon crown race of the fork.
10 Rack / Fender / Mud Guard Compatibility
Rack and fender Support: Standard pizza-style and porteur racks supported. Fitment varies by rack. Follow manufacturers instructions when installing racks.
Our crown bolt hole is non-threaded and designed for a through bolt and nut with nylon washers on each side to prevent scarring. We use M6 bolts. The length of the bolt will vary per the accessory that you are mounting.
Always use a safety lash to fasten the rack to the head tube in case of failure of the through bolt or fastening nut.
Low rider racks aren’t supported by Spork 4 unless you are somehow able fasten them to the mid-leg eyelets.
Many fenders and mud guard will be compatible with Spork 4 if you fasten the strut to the lowest mid leg eyelet on each fork leg. Some problem solving may be required.
11. Preventing the “Ring of Death”
A common but highly dangerous issue with carbon steer tubes is the formation of a wear groove or indentation around the circumference of the tube, often referred to in the industry as the “ring of death.” This groove is almost entirely preventable. It is typically caused by riding with a loose headset, which allows the upper headset bearing or the metal compression ring to vibrate and chafe against the carbon fiber. Over time, this friction grinds away the resin and carbon layers. Because carbon fiber relies on a continuous structural matrix, even a microscopic groove creates a massive stress riser that can lead to catastrophic fork failure without warning.
To ensure the longevity of your Spork 4.0 and your personal safety, please adhere to the following protocols:
- Pre-Ride Headset Check: Routinely check your headset preload. Lock your front brake and gently rock the bike back and forth. If you feel a “clunk” or any play in the headset, do not ride the bike until the headset has been properly adjusted and tightened.
- Bi-Annual Visual Inspection: We strongly recommend dropping your fork to visually review the steer tube’s condition every six months. Look for any horizontal scoring, indentations, or wear marks where the headset bearings and compression ring sit.
- Seek Professional Evaluation: If you discover a wear ring, immediately cease riding the fork. We advise consulting with a professional bike shop mechanic for proper technical advice, diagnosis, and adjustment. They can determine if the fork is safe to continue using or if it requires replacement.
12. Jumps
Our fork is engineered and rigorously tested to meet the demanding ISO 4210-2:2023 Standard for Mountain And Racing Bicycles, ensuring highly dependable performance and structural integrity for gravel riding and trail riding. Spork forks have an exceptional track record under extremely demanding off road conditions. While it is built to handle the significant stresses and impacts of rugged courses, Spork fork is not explicitly designed for jumping. Jumping a Spork can subject it to a wider range of conditions than we are able to test and certify it for and presents a potential severe safety risk to the rider. We do not endorse jumping our forks. Jumping a Spork immediately voids the warranty.